 There are an overwhelming number of transducer (probe) options on the market these days, marketed for different species and applications. What do you need to consider when selecting one? Whether you are shopping for a new system or transducer, or simply deciding which of your current probes to use for a specific purpose, here are a few tips to keep in mind.
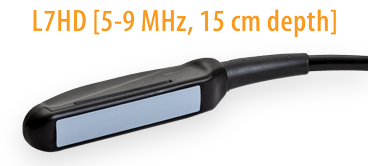
Frequency We recently published a blog entry on transducer frequency, which can be found here. The frequency range can have a big effect on the image that you produce, so always remember the bottom line—higher frequency equals greater resolution, lower frequency equals better penetration.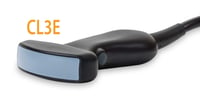
Depth Closely related to frequency is depth of penetration.
If you are imaging the abdomen of a horse, you will need significantly greater depth than you would if you were imaging superficial nerves and tendons in a dog, for example.
In order to achieve this, you’ll need a lower frequency transducer to maximize depth. While some ultrasound models will automatically change the frequency as you adjust the depth, others allow you to adjust the two independent of each other. Find the depth that you need first, and then adjust the frequency to maximize the resolution while maintaining the penetration.
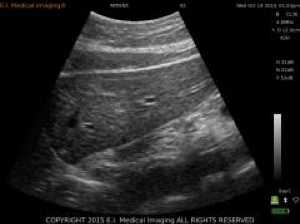
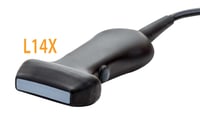
 Shape of array The array is the part of the probe in contact with the patient—it is most often made up of a grayish rubber material covering the crystal elements that produce the sound waves to create an image. Arrays can be flat or curved (convex), and the shape of the array will determine the shape of the image you see. A flat array produces a square or rectangular image, and a curved array will produce a wedge- or pie-shaped image.
You can interpret this as a wider field of view with a convex probe, but it also means that you may see some distortion or loss of resolution in the far field, where sound beams spread out as they get further from the probe. The tighter the radius (the more profound the curvature of the array), the more you will see that effect. We tend to use convex probes in body cavities like the abdomen and thorax and linear probes for small, superficial structures like tendons, nerves, and vessels.
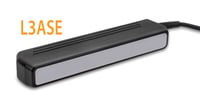 Length of array A longer array will fit more anatomy beneath it, making it more appropriate for larger or deeper structures. A short array is appropriate for smaller structures so that they appear larger on the screen relative to the probe. This is one reason that a linear rectal probe, for example, is not the best choice for equine distal limb exams; the transverse sections of the tendons will appear relatively small within the longer array. The animal science (carcass) probe is an example of a specialty probe with an exceptionally long array, designed to capture and measure an image of a large section of muscling in beef cows.
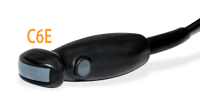
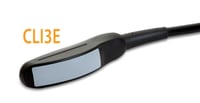 Shape of transducer The shape of the probe housing itself is often designed for a specific purpose. Most common probes have a traditional grip with the array on the far end of the housing, intended to be placed on top of a body surface and held in the palm of the hand. Rectal probes are the most obvious exception in veterinary medicine, where the array is oriented along the side of the probe and the cable exits at the rear. E.I. Medical’s CLi transducers are an interesting hybrid design—they incorporate the array of our large transabdominal probe into a rectal grip. This unique design allows the probe to be used for both applications.
By understanding these transducer properties, you will be better equipped to choose the correct tool for your next job! Contact us at info@eimedical.com to learn more, or go here to see the selection of probes that work with our rugged, portable, veterinary ultrasound units!