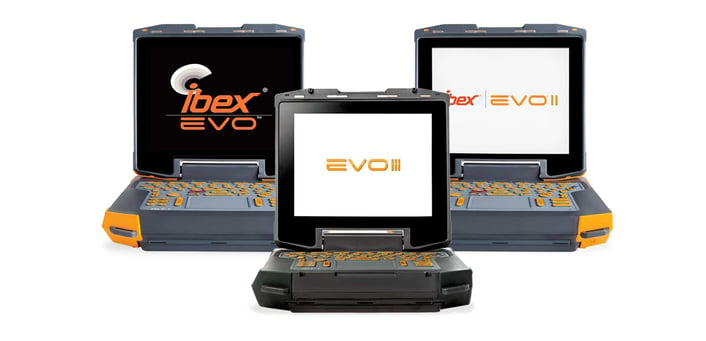
Are you the proud owner of a new EVO III? Or maybe you’ve had an EVO for a while but you aren’t sure you’re using it to its fullest potential. Here we run down the process of setting up for an ultrasound exam with your EVO.

Note—if your EVO isn’t brand new but you want to fine-tune your settings, you can start fresh by checking that your software is up to date (EIMI Firmware Updates), and then performing a reset to clear old settings and return to factory defaults (Factory Reset on the EVO)
- Watch the EVO Unboxing video to familiarize yourself with how to attach and remove your transducers, install the battery, plug in and charge the ultrasound, and locate the USB and HDMI ports. Note: always make sure the system is powered off when installing, changing, or removing transducers
- Select the best transducer for the job. Many EVO features are probe-specific, so you’ll want to make sure you’ve chosen the one with the size, shape, depth, and frequency range that’s most appropriate for the job you want to do. Here’s a more in-depth blog post on probe selection: Blog: Choosing the Correct Transducer
- Once you’ve installed the transducer and powered the unit on, you’ll be at the main scanning screen. If you plan to save any images (still frames or video loops), you may wish to input patient information. This way, stored images can be easily located or exported from that patient’s file, in a dated subfolder for the exam. You can access the patient menu by pressing the PATIENT key, and from here you can either Create a New Patient or Select an Existing Patient and start an exam. Any time a patient name appears at the top of the screen, images saved will be stored under that patient.
- Once you have selected a patient, if you have chosen to do so, we can set the EVO up for the exam by first selecting an exam type, which is sort of a probe-specific factory preset. These exam types are accessed by pressing F1 Exam Type. For example, with an eL7 flat linear rectal probe plugged in, exam type options would include equine repro, bovine repro, FGD (fetal gender determination), and lung (for foals and calves). If what you’re scanning doesn’t fall within one of those categories, choose the one that most closely matches your needs regarding depth or tissue type.
- You’re now ready to scan! The main parameters that you might adjust during your exam will be (typically in this order): depth, frequency, focal zone/transmission focus, and gain.
- Adjust the depth to center your area of interest within the screen
- Adjust the frequency to optimize resolution while still achieving the penetration needed
- Adjust the focal indicator at or just below the level of the structure of interest
- And finally, adjust gain as needed to add whiteness to the image.
- Here is a blog post with more detail on making these adjustments and maximizing your image quality: Blog: How to Optimize Your Image
- Don’t forget to review the EVO Tutorials and EVO Shorts playlists on the EIMI University YouTube Channel for a lot more detail on the various features of your ultrasound! Here you can learn to take measurements, use gestation tables, store still frames and video loops, and more!
If you have any additional questions, call your sales rep or 1.866.365.6596 for assistance!
If you're thinking about upgrading to the latest ultrasound technology in our EVO III, CLICK to request more information about our generous trade-in allowances.
And if you're an equine or bovine vet, check out our latest hybrid rectal probe, The Game-Changer [eCLi6]. Beautiful, next-level scans, available only for the EVO model lineup! CLICK to see sample scans or to request more information.

Dr. Wierman is Staff Veterinarian
and Director of Education for
E.I. Medical Imaging
Follow Dr. Wierman on
Instagram @Dr.Wierman


