Are you a new EVO owner? Here’s a quick list of our top 5 out-of-the-box tips!
1 Battery
The Lithium ion smart battery in the EVO can be charged within the ultrasound, but is also field-replaceable in the event that you need ongoing power throughout the day. [Contact us for more information about the available desktop smart charger and DC power supply]
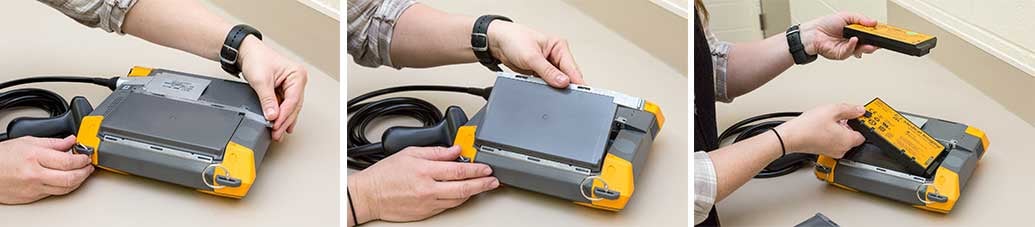
To install the EVO battery:
-
- Turn the EVO over. Pull out on the battery compartment door tab and lift the door off of the unit.
- Install the new battery (you can check the charge level by pressing the indicator button on the front of the battery) by pressing it firmly into place with the terminals aligned.
- Reinstall the battery door by first placing the anchoring tabs into their corresponding slots and then lowering the door into place, holding the sliding tab out until the door is fully seated, and then sliding the tab closed.
2 Transducer
The EVO transducer connector was designed with small pegs instead of full pins, to minimize the potential for breakage. Transducers (probes) should only be connected to and disconnected from the EVO when the unit is powered down. See the transducers offered for the EVO.
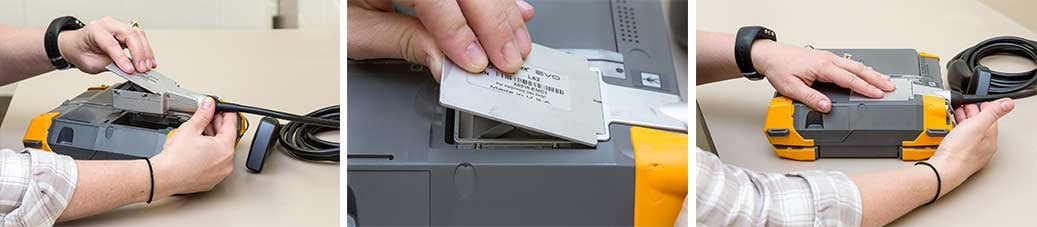
To connect a transducer to the EVO:
-
- Turn the EVO over. Lift up on the metal flap on the transducer connector and install it carefully into the port on the EVO. Be sure to keep the connector level when lowering it into place and align the four pins on the connector with the corresponding wells slots on the EVO.
- Press down on the metal flap to lock the transducer into place.
The power supply port is the same place th
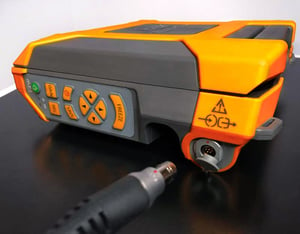 e optional headsets plug in on the side keyboard of the EVO. To charge the EVO:
-
- Align the dot on the connector of the power supply with the dot on the EVO port
- Press firmly into place until you feel it seat and hear it click. DO NOT TWIST, as this can damage or break the pins within the connector.
- Plug the AC power cord into a standard wall outlet.
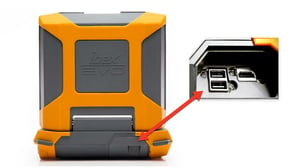
Familiarize yourself with the back compartment of the EVO.
-
- On the rear aspect of the EVO, just below the monitor hinge, is a small door. This door is often stiff at first; you can use a pen for leverage to open it the first time or two.
- Inside you will find three ports; two USB and one HDMI
- A USB 2.0 is used for exporting and storing images, performing software updates, a backing up or restoring files. Be sure to assign a name to your USB drives in order to identify them on-screen when searching for or exporting files
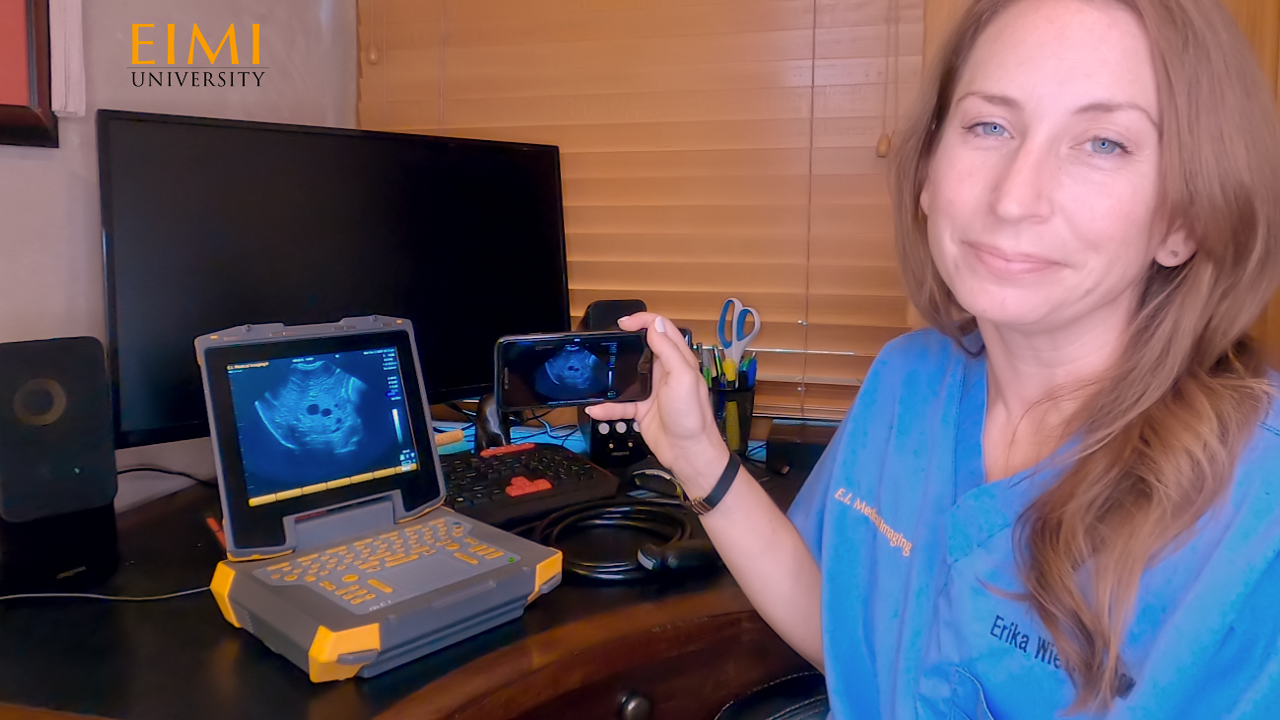
- A standard HDMI cable can be plugged into the corresponding port in the EVO to project the image from the ultrasound monitor to a larger screen, such as a television, projector, or computer monitor. Unlike previous generations, the EVO monitor, headsets, HDMI projection, and EVOStream app can all be used simultaneously!
Once you’ve installed a battery and transducer and charged your ultrasound, you’re ready to start scanning! To get a quick start:
-
- Depress the green power key on the side keyboard. The EVO powers on in about 45 seconds
- Once your image is live, press F1 or use the track pad to tap on the corresponding “Exam Type” menu option. Here you will see that the F keys correspond to different exam types based upon the transducer that is attached. Choose the best exam type for your application. For example, if you are scanning a cat with the C6E transducer, you will likely choose “small abdomen.” This will place the system into our factory default settings for a small animal abdominal exam. Now you’re ready to start scanning!
- Please watch this video: EVO II Veterinary Ultrasound
For more features and how-tos, please visit our video library on YouTube. Related topics:
- Create a New Patient [EVO]
- Select an Existing Patient [EVO]
- Basic Measurement on the EVO
- EVO Area Measurement Calculations
- Fetal Aging [EVO]
- Dual Imaging [EVO]
- Using the EVOStream App [EVO]
For more information, complete this form or call us at 1.866.365.6596. And don't forget—it's time for special end-of-year pricing and Section 179 deductions!

Dr. Wierman is Staff Veterinarian
and Director of Education for
E.I. Medical Imaging.
Follow Dr. Wierman on
Instagram @Dr.Wierman
PREVIOUS POST